New to Playnite?
This page covers only the Playnite basics required to follow the rest of the Aniki guide.
If you already know how to use Playnite Desktop and Fullscreen modes, install add-ons, and import games, you can skip directly to Install Aniki ReMake.
What is Playnite?
Playnite is the application underneath Aniki ReMake.
It combines games from different libraries and emulators into one library. Aniki ReMake changes the Fullscreen experience, while Playnite still manages your games, metadata, emulators and extensions.
Don't have Playnite yet?
Download it from the official Playnite website:
- Open the link above.
- Click Download.
- Run the installer.
- Complete Playnite's first-start wizard.
- Import the libraries you use, or skip them and configure them later.
Once Playnite opens in Desktop mode, continue with this guide.
Desktop mode vs Fullscreen mode
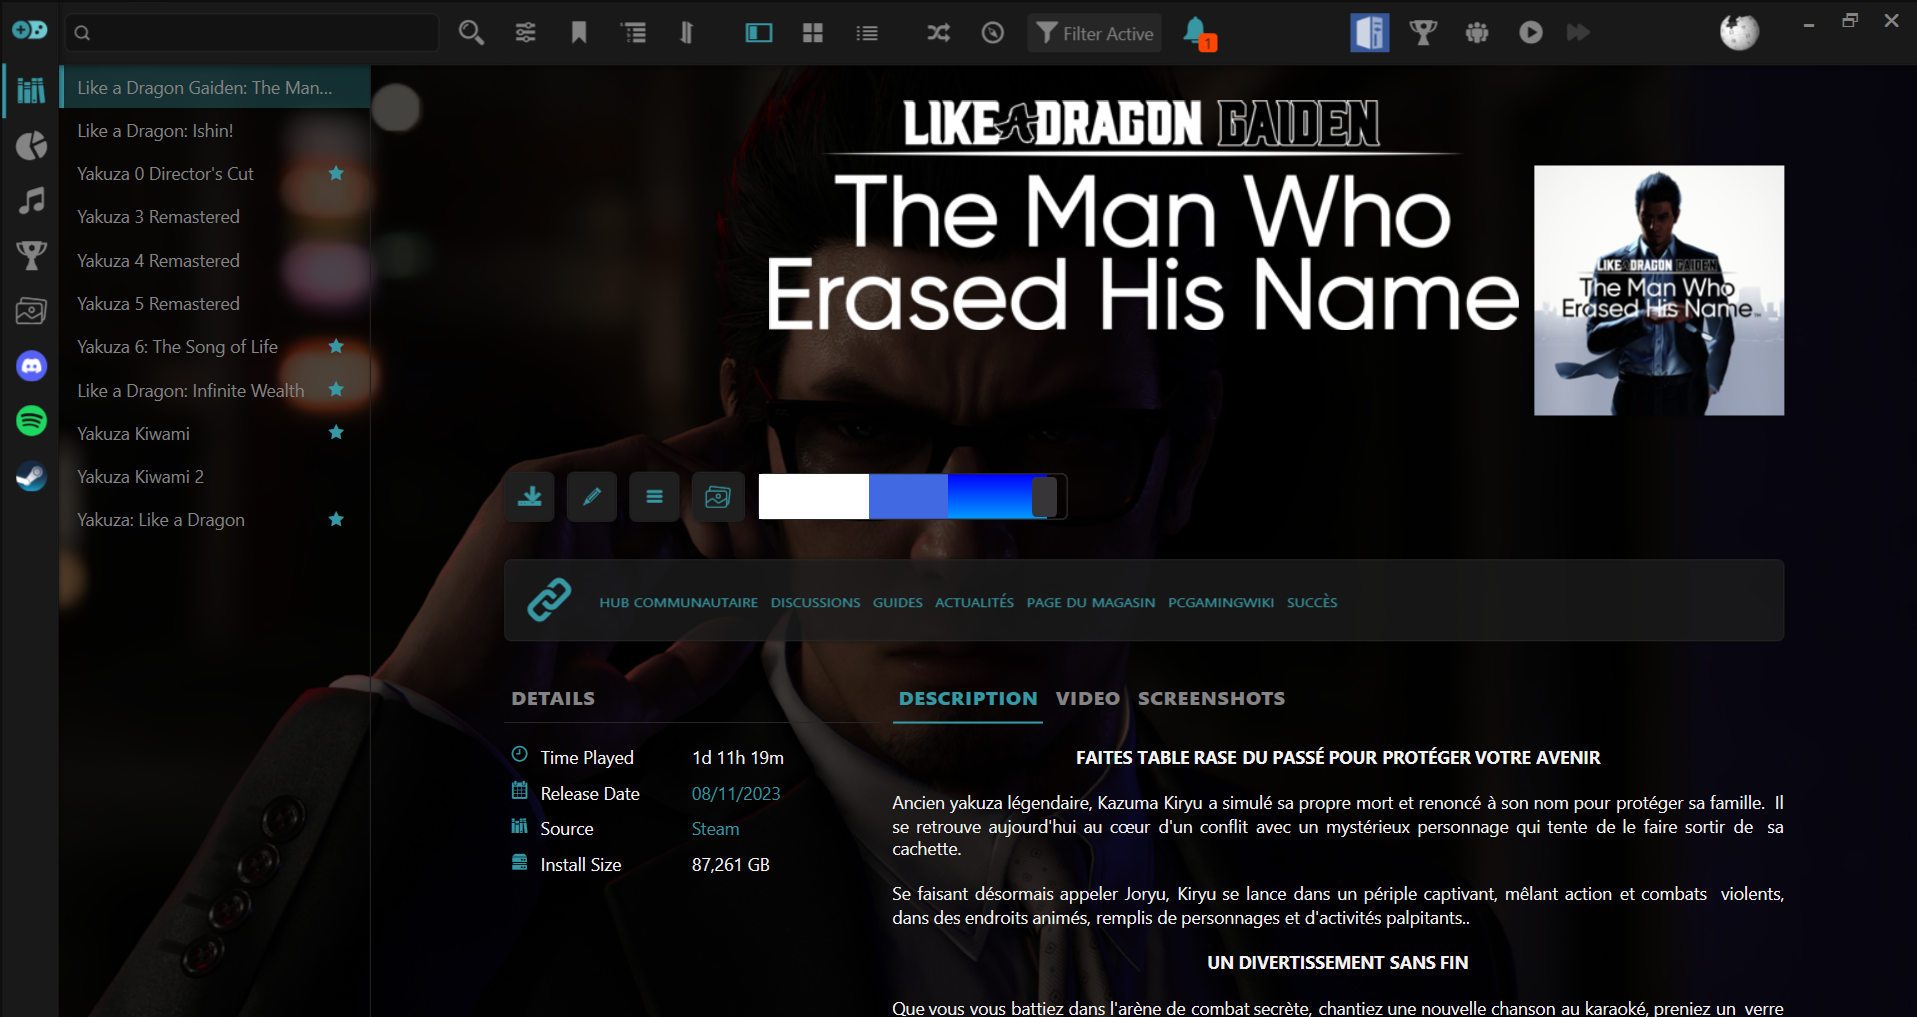
Desktop mode
Desktop mode is intended for mouse and keyboard and contains the most complete configuration tools.
You will use it for tasks such as:
- installing themes and extensions;
- configuring Aniki Helper;
- importing libraries and emulators;
- editing game metadata;
- downloading logos and trailers through compatible extensions.
images/new-to-playnite-01.pngFullscreen mode
Fullscreen mode is the controller-oriented interface.
Aniki ReMake is a Fullscreen theme, so this is where you will normally use it.
To switch from Desktop to Fullscreen:
- Open Playnite Desktop.
- Press F11.
You can also use the Playnite main menu and choose Switch to Fullscreen Mode.
Automatically switch to Fullscreen with a controller
If you mainly use Playnite from a controller, Aniki recommends the optional ControlUp Playnite add-on.
ControlUp can detect a controller connection and either:
- show a prompt asking whether you want to switch to Fullscreen; or
- switch directly to Fullscreen automatically.
To install it:
- Open Playnite Desktop.
- Press F9.
- Open Browse → Generic.
- Search for ControlUp.
- Install it and restart Playnite if requested.
- Open Extension settings → Generic → ControlUp.
- Choose its controller detection mode.
- Enable Skip Popup on Connection if you want it to switch directly to Fullscreen instead of asking first.
ControlUp is optional. You can always keep using F11 or Playnite's normal Switch to Fullscreen Mode command instead.
Open the Playnite main menu in Desktop mode
- Look at the top-left corner of the Playnite window.
- Click the Playnite icon.
- The main menu opens.
This menu gives access to Library tools, Add-ons, Settings, Fullscreen mode and other Playnite functions.
Install an add-on
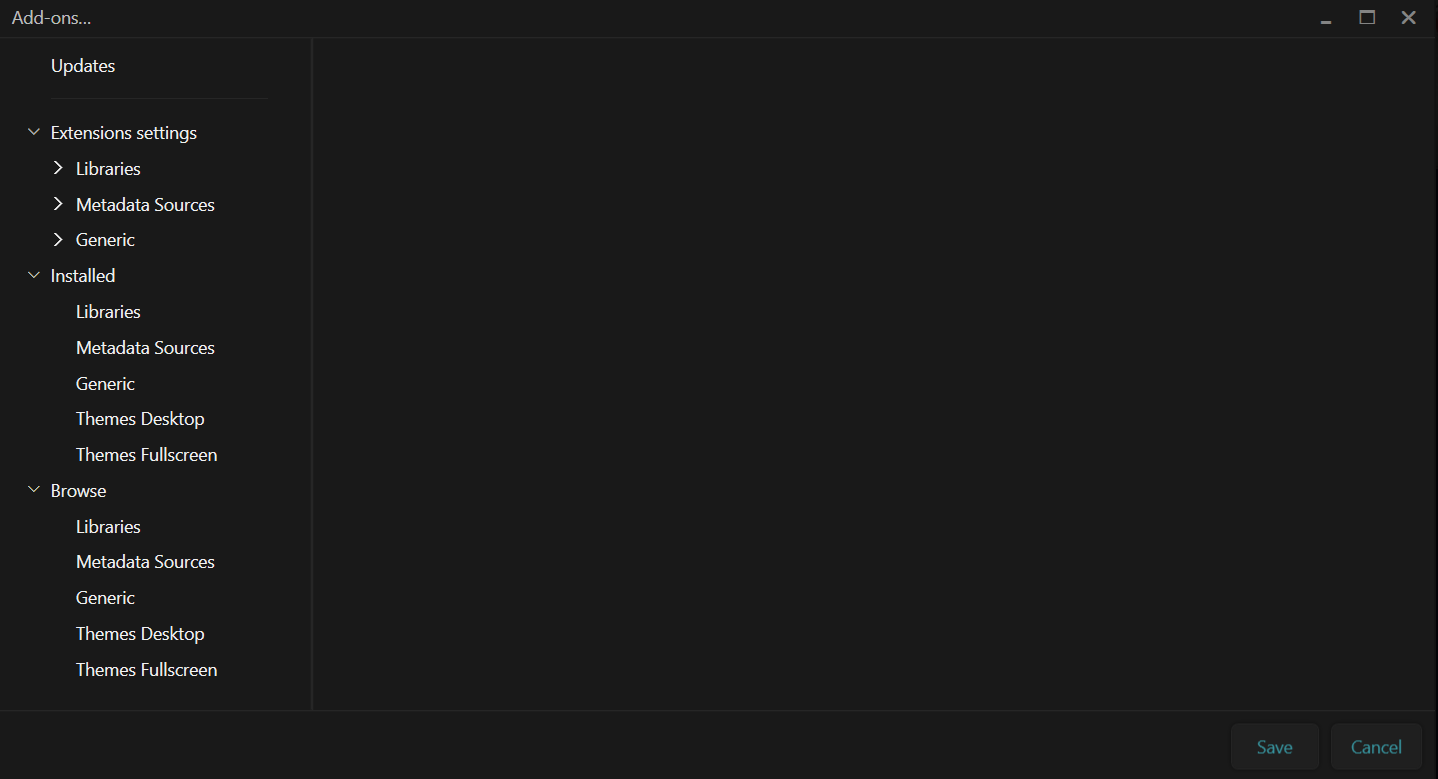
Most Aniki integrations are installed through Playnite's Add-ons window.
- Open Playnite in Desktop mode.
- Click the Playnite icon in the top-left corner.
- Select Add-ons....
- You can also press F9 to open the same window.
- Open Browse.
- Choose the appropriate category.
- Search for the add-on.
- Select it and choose Install.
- When you are finished installing add-ons, click Save.
- Restart Playnite if requested.
images/new-to-playnite-02.pngAdd your game libraries
Steam, GOG, Epic and other stores are imported through Playnite Library integrations.
If your games are not in Playnite yet:
- Open Playnite in Desktop mode.
- Click the Playnite icon in the top-left corner.
- Select Add-ons....
- In the left column, open Extension settings → Libraries.
- Select the library you want to configure.
- Sign in or authenticate when the integration asks you to.
- Choose its import options.
- Click Save.
- Update your Playnite library so the games can be imported.
The exact login/options depend on each library integration.
If a store you use is not installed yet, open Browse → Libraries in the Add-ons window and install its integration first.
Add emulated games
Adding emulated games has two parts: first configure the emulator, then tell Playnite where the games are.
Part 1 — Configure the emulator
- Open Playnite in Desktop mode.
- Click the Playnite icon in the top-left corner.
- Open Library → Configure Emulators....
- Add/import your emulator.
- Make sure the emulator has a usable profile for the platform you want to run.
You can also press Ctrl + T to open the emulator configuration.
Part 2 — Import the games
Recommended: create an Auto-scan configuration
- In Configure Emulators..., open Auto-scan configurations.
- Add a new scan configuration.
- Choose the folder containing your games.
- Choose the emulator and profile Playnite should use.
- Save the scan configuration.
- Run a Playnite library update, or use the emulated-folder update option, to import detected games.
Manual import
You can also use:
Playnite main menu → Add Game → Emulated Game
or press Ctrl + Q.
Follow the import wizard and choose the emulator/profile and game folder.
Configuring an emulator alone does not add its games to the Library. The games must also be scanned/imported.
Aniki ReMake does not change Playnite's emulator configuration. Once an emulated game is in the Playnite Library, Aniki displays it like your other games.
Need more help with Playnite itself?
This Aniki guide intentionally covers only the Playnite basics needed to get started.
For a more complete Playnite setup, use:
Next step
Once your games are visible in Playnite and you understand the difference between Desktop and Fullscreen, continue with: