
Build your Aniki experience.
Step-by-step help for installing, configuring and getting the most out of Aniki ReMake.
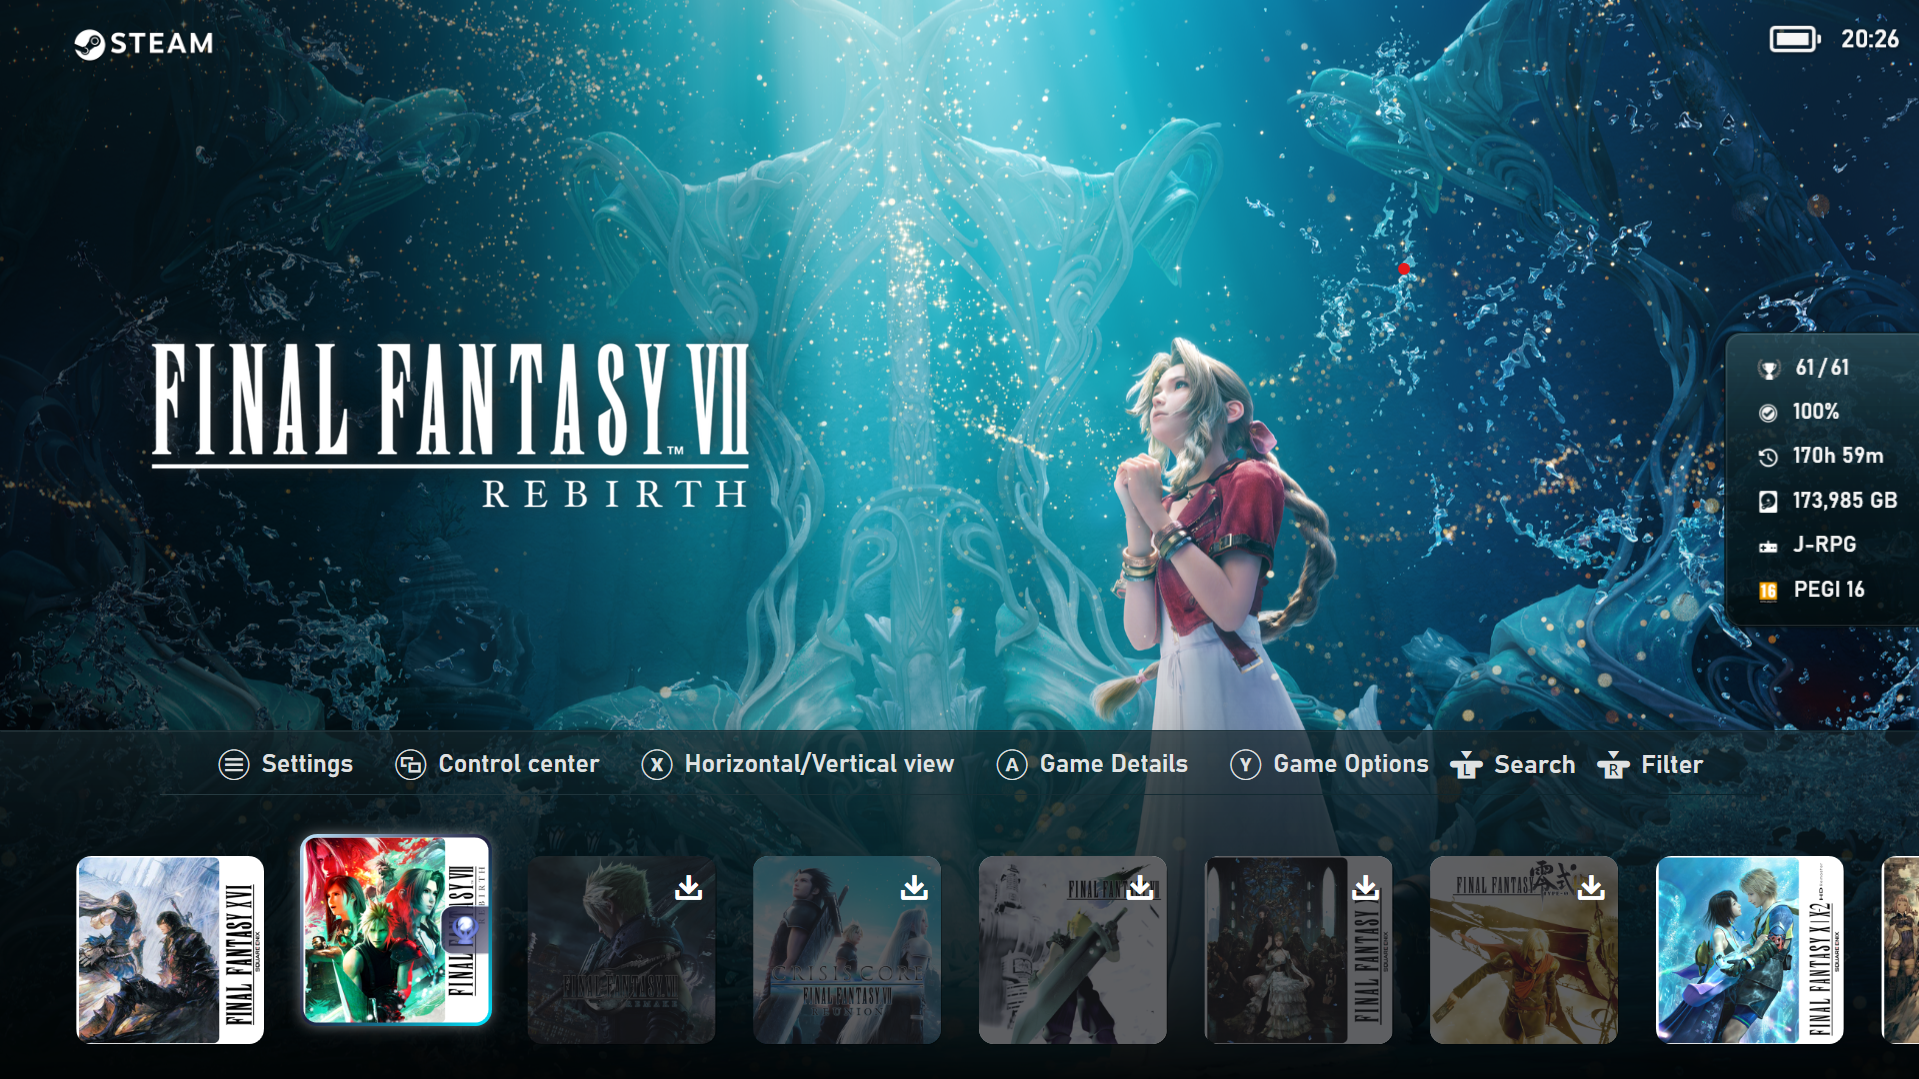 Aniki ReMake
Where do you want to start?
Choose what you want to configure. You can always use the Guide menu or search to jump somewhere else.

Getting Started
New to Playnite or Aniki? Start from the beginning.

Set Up Your Library
Metadata, artwork, logos, trailers, screenshots and covers.

Customize Aniki
Layouts, colors, Visual Packs, backgrounds and presentation.

Aniki Features
Hub, Quick Access, Overlay, ScreenSaver, Browser, Video Center and more.

Add-ons & Steam
Steam integration, achievements, music and optional extensions.
Troubleshooting
Something is missing, broken or slow? Start here.
Popular guides
Start here. We’ll take it one step at a time.
You do not need to know Playnite before using Aniki ReMake. The beginner path takes you from a fresh Playnite installation to your first configured Fullscreen setup.
Start the step-by-step guide →- 1Install PlayniteGet the base application ready.
- 2Install Aniki ReMakeAdd and activate the Fullscreen theme.
- 3Install Aniki HelperThe companion plugin at the heart of Aniki.
- 4Complete First SetupChoose your starting interface and integrations.
- 5Prepare your libraryArtwork, media and the finishing touches.
More than a game list.
A few of the areas you can build into your Fullscreen experience.

Bring your gaming setup together.
Library activity, shortcuts, apps, Steam features and more from one controller-friendly home.

Make the experience feel personal.
Achievements, captures, music and other integrations become part of the theme instead of separate tools.

Everything around the game.
Details, media, trailers and additional information designed for a TV rather than a desktop window.
Discover the story behind Aniki
From the first theme experiments to Aniki Remix, Aniki ReMake and Aniki Lite.
Read the story →Enjoy Aniki ReMake?
If you appreciate my work and would like to support the project, you can buy me a coffee on Ko-fi.
Buy me a coffee →